
As 3D printing technology becomes increasingly accessible, setting up a Home 3D Printing Studio is an exciting opportunity for hobbyists and professionals alike in India. With the ability to create custom designs, prototypes, and functional items right from your home, a personal 3D printing studio can unlock a new world of creativity and innovation. Whether you’re looking to dive into product design, educational projects, or simply enjoy the thrill of creating something from scratch, understanding the essentials of a home 3D printing setup will help you start your journey on the right foot.
Why Set Up a Home 3D Printing Studio?
A Home 3D Printing Studio offers numerous benefits, including the ability to create customized items, prototypes, and functional parts from the comfort of your home. It empowers individuals to experiment with design ideas, engage in small-scale manufacturing, and even start a home-based business. With a personal 3D printing setup, you can bring your creative ideas to life, whether for personal projects, educational purposes, or entrepreneurial ventures.
Choosing the Right 3D Printer

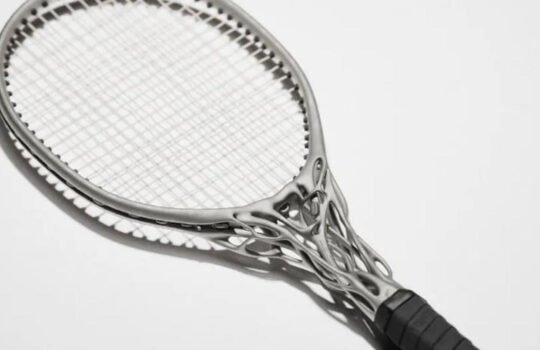
Selecting the right 3D printer is crucial for setting up a successful Home 3D Printing Studio. There are two main types of 3D printers commonly used in home setups: FDM (Fused Deposition Modeling) and SLA (Stereolithography). FDM printers are popular for their affordability and ease of use, making them ideal for beginners. SLA printers, on the other hand, offer higher precision and are suited for more detailed work but can be more expensive and require additional maintenance. Popular models available in India include the Creality Ender 3 (FDM) and Anycubic Photon Mono (SLA).
Filament and Resin Options for Home Use
The choice of material plays a significant role in the quality and functionality of your 3D prints. FDM printers use filaments like PLA, ABS, and PETG, each with its own properties—PLA is biodegradable and easy to use, while ABS is more durable and heat-resistant. SLA printers use liquid resin, which hardens under UV light to create precise and detailed prints. Consider eco-friendly filaments and resins, which are increasingly available and can reduce the environmental impact of your projects.
Necessary Tools and Accessories
To ensure a smooth and efficient 3D printing experience, having the right tools and accessories is essential. Basic tools include a scraper for removing prints from the build plate, a set of nozzles for different filament types, and cleaning supplies for maintenance. You might also need additional build plates, adhesive sprays for better print adhesion, and calipers for precise measurements. Investing in a maintenance kit can help keep your printer in top condition and extend its lifespan.
Finding the Perfect Space
Choose a well-ventilated, quiet corner or room in your home with easy access to power outlets. A dedicated space ensures a smoother workflow and keeps your projects safe from disruptions.
Ensuring Safety and Proper Ventilation

Prioritize safety by keeping your 3D printing area free of flammable materials and ensuring proper ventilation to reduce exposure to fumes. Consider installing a ventilation system and keep a fire extinguisher nearby. Use gloves and masks when handling certain materials to protect against irritations and respiratory issues.
Essential Software for 3D Printing
To bring your designs to life, you’ll need reliable 3D printing software. This includes CAD (Computer-Aided Design) software for creating 3D models and slicer software that converts these models into instructions for your printer. Popular options include Tinkercad for beginners and Fusion 360 for more advanced users. Slicer software like Ultimaker Cura is essential for preparing your designs for printing.
Popular 3D Design Software for Beginners
For those new to 3D printing, user-friendly design software is key. Tinkercad is a great choice, offering a simple interface and easy-to-learn tools. It’s free and widely used in the 3D printing community. Other beginner-friendly options include SketchUp Free, which is intuitive and offers plenty of tutorials to help you get started. These tools will help you design with confidence, even if you’re just starting out.
Cost Considerations and Budget Planning
Setting up a Home 3D Printing Studio requires thoughtful budgeting. The initial cost includes the 3D printer, which can range from ₹15,000 to ₹50,000 depending on the model and features. You’ll also need to budget for ongoing expenses like filaments or resins, which vary by material. Additionally, factor in costs for necessary tools, software, and maintenance supplies. To keep costs manageable, look for deals on Indian e-commerce sites, consider starter kits, and start with basic materials before gradually expanding your setup as you gain experience.
Conclusion
Creating a Home 3D Printing Studio is an exciting venture that offers endless creative possibilities. With the right equipment, a well-planned space, and careful budgeting, you can bring your ideas to life from the comfort of your home. Whether you’re a hobbyist or aspiring entrepreneur, understanding the essentials of 3D printing will help you start strong. Embrace this innovative technology, and you’ll soon be crafting unique designs, prototypes, and products with ease.